Google Ads Account Setup

Creating a Google Ads Account

Level: Easy
Time: 10-20 minutes

Google Ads will is the foundation of your whole marketing strategy. Its where a majority of your targeted traffic will come from through all your paid traffic efforts, and where most of your highly converting traffic comes from as well. Therefore, creating a Google Ads Account is a necessary first step in building your online presence.  Read below to find out more.

Google Ads Account Goal

To create a Google Ads account that is ready to start running your first campaign.

Ideal Outcome

You have access to your campaign dashboard and all the tools Google Ads has to offer.

Prerequisites or Requirements

None of requirements need to create a Google Ads account.

Why Google Ads Account is Important

With over 3.5 billion searches per day and over 2 million websites on the Display Network, Google Ads is one of the most powerful channels to advertise to your audience.

Where this is Done

In Google Ads.

When this is Done

When you need to create a new account.

Who does This

The person responsible for paid advertising.

Create a Google Ads Account

2. Click on the blue, “Start Now” button:

Start Now Google Ads Account
3. [Optional] If you already have other Google Ad accounts under the email address you’re currently logged in with, you will need to click “New Google Ads Account”
New Google Ads Account
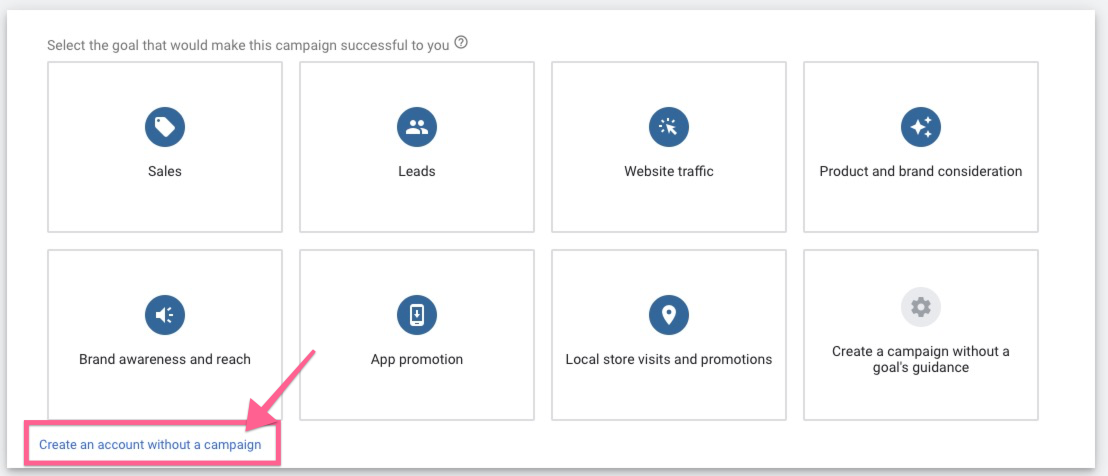
4. At this point, you will be presented with the default “guided setup” in which Google will try to get you to launch an ad from scratch. We recommend skipping the guided setup because it will allow you to use other tools (e.g. Keyword Planner) to plan your campaigns.
a. To skip the guided setup, scroll down and click on the link titled “Switch to Expert Mode”
Switch to Expert Mode

b. Next, click on “Create an account without a campaign”

5. Fill in your details and press “Save and continue”
Note: Be sure to select the currency you want to be billed in for this Google Ads account since this can not be changed later.
Save and continue
6. That’s it! You should now be in your account dashboard:
Note: By skipping the guided setup you didn’t set up any payment method yet. You will need to do so before your campaigns start running.
google ads account dashboard

Enabling Auto-tagging on your Google Ads Account

Note: Auto-tagging is an optional but recommended Google Ads feature that will automatically add a parameter to your URL that will tell Google Analytics which ad the user is coming from. This saves you the work of manually tagging each of your campaigns and saves you from potential human error while at the same time allowing for more detailed Google Analytics reports.
1. Go to https://ads.google.com/ and log in to your account
2. Before you can enable auto-tagging, you will need to create a dummy campaign (this campaign won’t be live and won’t spend any budget). Click on “New campaign”
new google ads campaign
3. From the list of goals, select “Sales” and click “Continue”

4. From the list of campaign types, select “Search”

list of campaign types

5. Next, select “Website visits” from the list and type your website URL

6. Click “Continue”

7. On general settings, click on the “Show more settings” link under the “Networks”

more settings

8. Select a start and end date for some time in the future

9. Next, scroll down to the “Budget” section and set a $1 budget.

10. Leave everything as default, scroll to the bottom of the page, and click “Save and continue”

11. On the ad group setup screen, leave everything as default, scroll down to the bottom of the page and click “Save and continue”

12. On the ad setup screen, leave everything as default, scroll down to the bottom of the page and click “Save and continue”
13. On the summary screen, click on “Publish”
google ads campaign summary
14. Now that your dummy campaign has been published, you can enable auto-tagging. Click on the Google Ads logo in the top navigation:
google ads dummy campaign
15. On the sidebar click “Settings” → “Account Settings” → “Auto-tagging”
16. Tick “Tag the URL that people click through from my ad” → Click “Save”

17. That’s all! You should start seeing your Google Ads traffic information inside Google Analytics in the first 24 h after your ads have started running.